Length: 4 Miles
Difficulty: Moderate
Information
Hiking Map
Monument Guide
Battle Maps: The Cornfield, The Bloody Lane

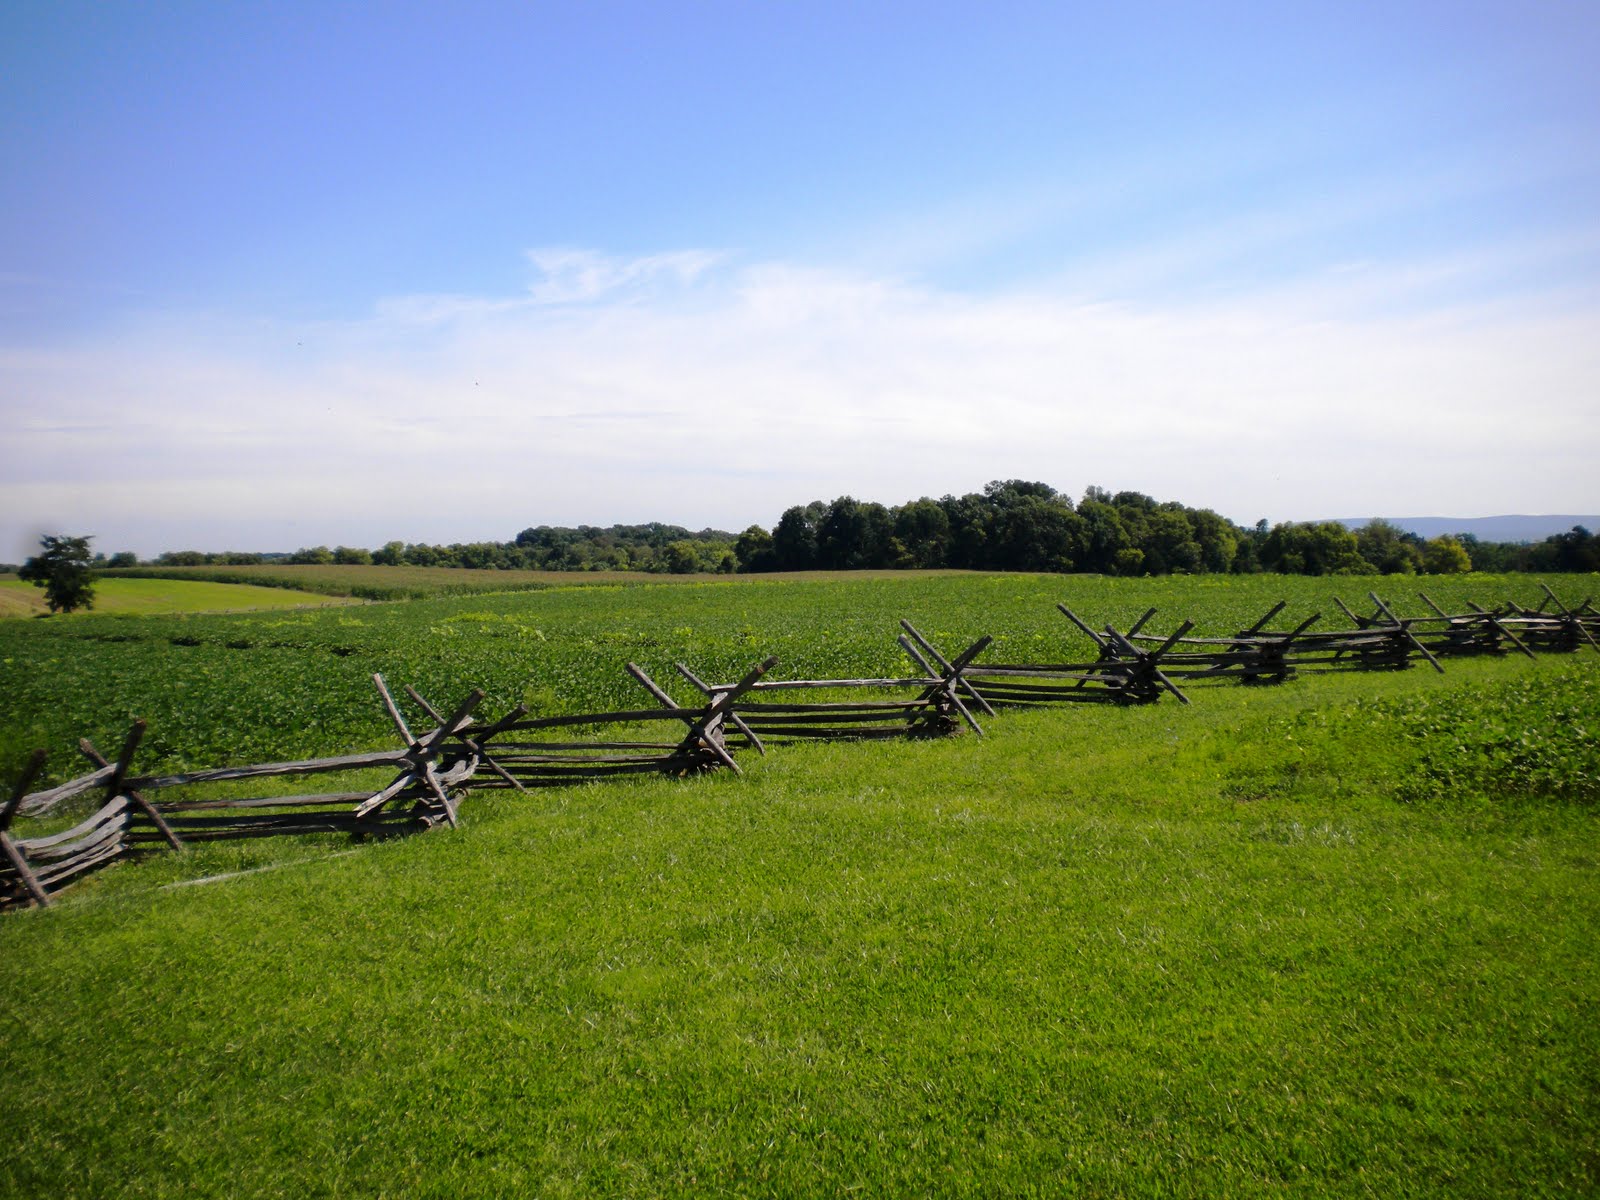
Overview: This hike covers the Union attacks against the Confederate left and center during the battle of Antietam. This hike is remarkable because the battlefield east of Sharpsburg is almost untouched by time and retains its natural beauty. The rolling hills and farm plots make this battlefield one of the most scenic places to take a stroll. The famous battlefield landmarks are a stark reminder of the carnage that occurred along the quiet fields that made Antietam the single bloodiest day of the civil war.
After General Robert E. Lee defeats the Army of Virginia at Second Manassas, he leads his army across the Potomac and into the fertile lands of Maryland. At Fredericks, Lee decides to split his army to capture the federal arsenal at Harper’s Ferry. After the Union disaster at Second Manassas, Union Maj. Gen George B. McClellan is put back into command of the "the fortifications of Washington, and all the troops for the defense of the capital." McClellan works to rebuild his army and then leaves the Washington to pursue Lee.
While the Union army camps outside of Fredericks, McClellan receives the greatest gift of the war. A Union soldier finds three cigars wrapped with a copy of Lee’s special orders 191. This order provides McClellan with the whereabouts of Lee’s army and troop movements. With these orders in hand, McClellan exclaims, “Here is a paper with which, if I cannot whip Bobby Lee, I will be willing to go home.” The Army of the Potomac pushes ahead towards South Mountain, causing General Robert E. Lee to begin concentrating his troops behind Antietam Creek at the town of Sharpsburg.
The Cornfield and Bloody Angle Hike: I like to begin this hike next to the visitor center where Confederate Colonel Stephen Dill Lee’s artillery was positioned during the fighting on September 17th, 1862. You can easily see how Colonel Lee’s 19 guns could sweep the field of battle as Union troops advanced through the West Woods and the Cornfield. After the battle, Colonel Lee described this area as “artillery hell” due to the toll his gunners took from Union cannons located along Antietam Creek. Colonel Lee’s artillery was forced back across Hagerstown Pike after Union Brig. Gen. George S. Greene’s two brigades captured the plateau in front of you.

Walk across Hagerstown Pike to the famous battlefield landmark, the Dunker Church. The original white washed church was built in 1852 as a place of worship for the local German famers who were pacifist. During the battle, the church was a focal point for numerous Union attacks. The structure’s roof was damaged by cannon fire and the outer walls received hundreds of scars from bullets during the battle. The church was also used as a Confederate hospital. In 1921, a violent storm collapsed the original Dunker Church. It was rebuilt, using some of the original materials, on its previous foundation in 1962 for the 100th anniversary of the battle.

As you look out behind the church, the area covered with trees is known as the West Woods. Numerous Union attacks tried to dislodge the Confederates from these woods without success. Brig. Gen. George S. Greene’s two brigades made it the furthest, actually pushing 200 yards past the Dunker Church after driving Colonel Lee’s artillery off the ridge behind you. Greene sent a pressing message to Maj. Gen. Edwin V. Sumner for reinforcements but was soon attacked by Confederate Col. Matthew W. Ransom’s 49th North Carolina. Without support, Greene’s men were forced back across the Hagerstown Pike and an important foothold for the Union was lost.
Follow the trail to the right of the Dunker Church and along the Hagerstown Pike until you emerge into a clearing. This field in front of the West Woods was soon soaked in blood during the early part of the battle on September 17th. Walk over to the cannon with its muzzle buried into a stone block. This is the mortuary monument for Confederate Brig. Gen. William E. Starke. Antietam has five other mortuary monuments for fallen generals. In the morning, during the Union’s first attacks up the Hagerstown Pike and the Cornfield, Starke lead two of his brigade’s out of the West Woods against Union Brig. Gen. John Gibbon’s Iron Brigade, who were advancing out of the Cornfield. Starke was soon shot three times and died within the hour.
Afterwards, one of the great Union disasters occurred in this area. While Greene’s men were making headway near Dunker Church, Maj. Gen. John Sedgwick had three of his brigades of 5,300 men cross this opening. They began to enter the West Woods on your left, when Confederate Brig. Gen. Jubal Early and Brig. Gen. John G. Walker’s two brigades along with part of Maj. Gen. Lafayette McLaws’ Division smashed into Sedgwick’s front and flank. In twenty minutes, Sedgwick’s Division lost over 2,000 of it men. The Union troop were routed and sent back across towards the North Woods. The Philadelphia Brigade monument can be seen in the middle of the field. Led by Union Brig. Gen. Oliver Otis Howard, the Philadelphia Brigade lost 568 men during the battle of Antietam. Most of these causalities occurred here, during Sedgwick’s ill-fated attack into the West Woods.

Follow the road back from the Philadelphia Brigade Monument towards Hagerstown Pike and turn left. Continue on Hagerstown Pike until you reach Cornfield Avenue and turn right. Follow Cornfield Avenue until you reach the parking lot and locate the Cornfield Hiking Trail. Before entering the 30-acre cornfield that was owned by David R. Miller at the time of the battle, try to image what occurred here.
Although there are other cornfields at Antietam that were stained with blood, none saw the vicious action that occurred here. At daybreak, Union Maj. Gen. Joseph Hooker sent 8,000 men from the North Woods to cross the Cornfield and drive Confederate Maj. Gen. Thomas J. Jackson’s men away from the West Woods. As the fighting heated up, cornstalks were mowed down by artillery and gunfire and it was difficult for troop movements because the ground was strewn with the dead and dying from both armies.
Follow the trail to the right and then left. As the trail turns left, you are now entering where the Cornfield stood at the time of the battle. It was here that the Iron Brigade emerged from the Cornfield and took heavy fire from Stonewall Jackson’s men on the other side of Cornfield Avenue. As more Union troops arrived and the Jackson’s Confederates were being pushed back, Confederate Brig. Gen. John B. Hood’s 2,000 men arrived from the Dunker Church and struck the Union line in this area, driving the Federal troops back through the Cornfield and towards the East Woods.
Continue straight on the trail until it turns right towards the East Woods. It is here where the cornfield ended at the time of the battle. Follow the trail towards the East Woods. Hood’s men made it this far through the Cornfield before receiving a startling volley from Maj. Gen. Joseph Mansfield Twelfth Corps who were on the other side of the East Woods. Turn left on the trail and follow it as it borders the East Woods. These woods would become a place of shelter for troops wounded at the Cornfield.
The high ground to your left was used as a Union artillery position during the battle at the Cornfield. Follow the trail until it begins to bend to the left. Through here is the North Woods, which was the staging area for Union troops before making their assault of the Cornfield. Cross the Mansfield Avenue and located the Clara Barton’s monument. It was in this area where Barton arrived at the battlefield to provide care and food for the wounded. She would stay here for three days caring for the many who fell during the struggle at the Bloody Cornfield.
Retrace your steps back to Mansfield Avenue and turn left. Follow Mansfield until you reach Smoketown Road and turn right. Continue on Smoketown Road until you reach Mansfield’s mortuary monument. Here on your right is where the Twelve Corps advanced through the East Woods to support the First Corps at the Cornfield. Once here, Mansfield’s Corps began to take fire from Hood’s men in the East Woods and Confederate Maj. Gen. D. H. Hill’s men which were located near the Mumma farm. Mansfield was struck in the chest here by a bullet and would eventually die the next day.
Union Brig. Gen. George S. Greene’s Divisions would swept through this area, pushing Hood’s Texans out of the East Woods and eventually advance to the Dunker Church position where you were earlier. Stay on Smoketown Road until you reach the Mummas Lane and turn left. Follow the road until you reach Mumma farm. During the time of the battle, Confederate troops would burn all the buildings on the farm to prevent Union sharpshooters from using the buildings for cover. Find the trail located in back of the farm and follow it until you come to Roulette Farm.

Roulette farm was in the hands of the Confederates as the Union Maj. Gen. Edwin V. Sumner’s Second Corps came through this area on its way to attack the Bloody Lane. Union Brig. Gen. William H. French’s Division chased the Confederates away from the farm buildings and the large barn was turned into a Union field hospital. Here you can great a great view of the land that the federal troops had to cover on their way towards the sunken farm lane that concealed D. H. Hill’s men.

Continue on the trail, which soon bends to the right and turns into the Bloody Lane hiking trail. You are now walking the same ground that William French and Maj. Gen. Israel B. Richardson’s divisions used on their way to assault the Bloody Lane. Before the battle, the Bloody Lane was a sunken farm lane that separated Roulette and Piper farms. Wagons from the surrounding area had eroded the road and created a depression. During the battle, the sunken road provided great coverage for the Confederates but also allowed the Union troops to advance within yards of the lane before they could be seen or fired upon by the Confederates.
Continue on the trail until you reach the Bloody Lane and turn left. You can easily see the depression that the Hill’s Confederates used for cover. The fighting through here was intense and at close range. The Confederates withstood French’s attacks and were soon reinforced by Confederate Maj. Gen. Richard H. Anderson’s men who were positioned along the high ground at Piper’s farm.

To your right, on the other side of Richardson Avenue, was Piper’s cornfield. As French’s attack began to subside, Anderson’s men rushed through the cornfield to support D. H. Hill’s men along the sunken road. Union artillery across the creek and French’s troops opened fired on the supporting Confederates, wounding R. H. Anderson as he led his troops through Piper’s cornfield. He would eventually die from his wound two months later. His mortuary monument is placed along the sunken lane.
Continue along the Bloody Lane towards the observation tower. Union Maj. Gen. Israel B. Richardson’s Division was now thrown into the mix, with Union Brig. Gen. Thomas F. Meagher’s Irish Brigade taking the lead. The Irish Brigade attacked the Confederate position on the left of French’s men, where the observation tower stands today. Confederate Brig. Gen. Ambrose R. Wright’s Brigade made it through Piper’s cornfield in time to defend the sunken lane against Meagher’s attacks.
As Richardson’s second brigade led by Brig. Gen. John C. Caldwell began a flanking movement to the left of Meagher’s troops, the 29th Massachusetts of the Irish Brigade made a rapid charge towards the sunken lane, causing the collapse of the Confederate positioned and a disorderly retreat back towards Piper’s farm. Confederate Maj. Gen. James Longstreet rallied the retreating troops around the artillery at Piper’s apple orchard. With the display of artillery along the high ground at Piper’s farm, Israel B. Richardson decided to pull back his men behind the crest at the sunken lane. As Richardson was pulling back his troops near the sunken road, a shell fragment hit him. Like Anderson, he would die from his wound two months later. Richardson’s mortuary monument is located next to the observation tower.The sunken farm road would become known as the Bloody Lane due to over 3,000 casualties for the Union, and 2,600 for the Confederates.
Climb to the top of the observation tower to get a sweeping view of the battlefield. From the top, it is easy to see the famous landmarks that were fought over on September 17th and how the contours of the land shaped the battle. Take your time, enjoy the views and then leave the observation tower and retrace your steps back along the Bloody Lane.

Continue along the sunken lane until it begins to bend to the left. Here is the shallow salient that was guarded by Confederate Brig. Gen. Robert E. Rodes’ Alabama Brigade. It was here that confusion of orders by Rodes’ officers lead to a disorderly retreat resulting in the collapse of the entire Confederate line. Turn right on the trail that will lead you back towards the visitor center. It was through here that the 5th Maryland attacked Rodes’ position along the sunken lane.

Continue on the trail until you reach the small parking lot on Mummas Lane. Turn around and look out towards the fields leading up to the Bloody Lane. Here you can get a great view of the land that French and Richardson’s men had to travel from left to right. Also, in the distance you can see South Mountain, where D. H. Hill’s men had to slow down the Union advance three days earlier so Lee could concentrate his army. Continue across Mummas Lane and on the trail that leads to the New York Monument.
This New York Monument was erected in 1919 and was dedicated to the New York troops that fought at the battle of Antietam. During the time of the battle, one-fourth of the Army of the Potomac was from New York. The high ground at the monument will give you one last chance to take in the beauty of Antietam. This view is a favorite of my brother and I to think about the staggering loss of life that occurred here. The battle resulted in nine times as many Americans wounded or killed than during the invasion on D-Day. After soaking in the view, walk to the visitor center and back to your car. This concludes the Cornfield and Bloody Lane hike.

This comment has been removed by a blog administrator.
ReplyDelete